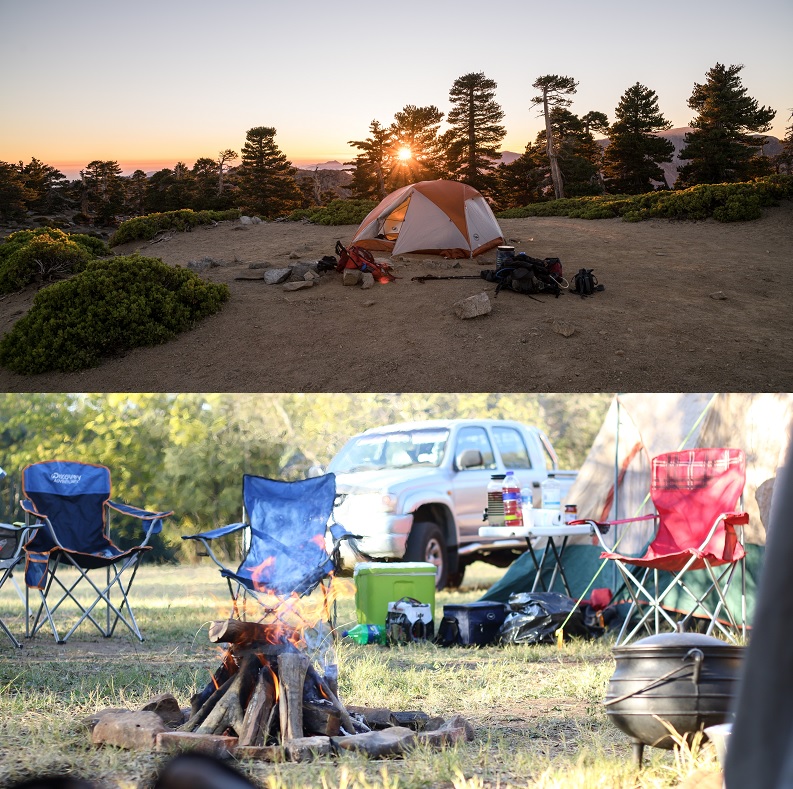
Fire is an essential part of camping. It not only keeps you warm and cooks your food but it can also make the campsite feel more homely. It’s not hard to light a fire as long as you know the correct way of doing it.
Matches are my prefered way for starting fires. I keep mine in a water tight bag to keep them dry. That is the only problem with matches. If they get wet they will be no use so make sure you alway keep them in a dry bag. I also keep some dry tinder with it. This makes lighting a fire quick and easy.
Why don’t I just use a lighter? It’s just personal preference. I always seem to burn my thumb. I know, silly right? And lighters don’t work if they get wet either.
But what if your matches and lighter did get wet, lost or you run out? Knowing how to start a fire without matches or lighter is an essential survival skill that you hope you will never have to use. That being said, it is pretty cool to be able to light a fire using your own skills and knowhow.
Before starting any fire you should first prepare the area. I outline in detail how you should to that in this post.
You will have heard of some of the methods below but some may be new to you.
Before you start
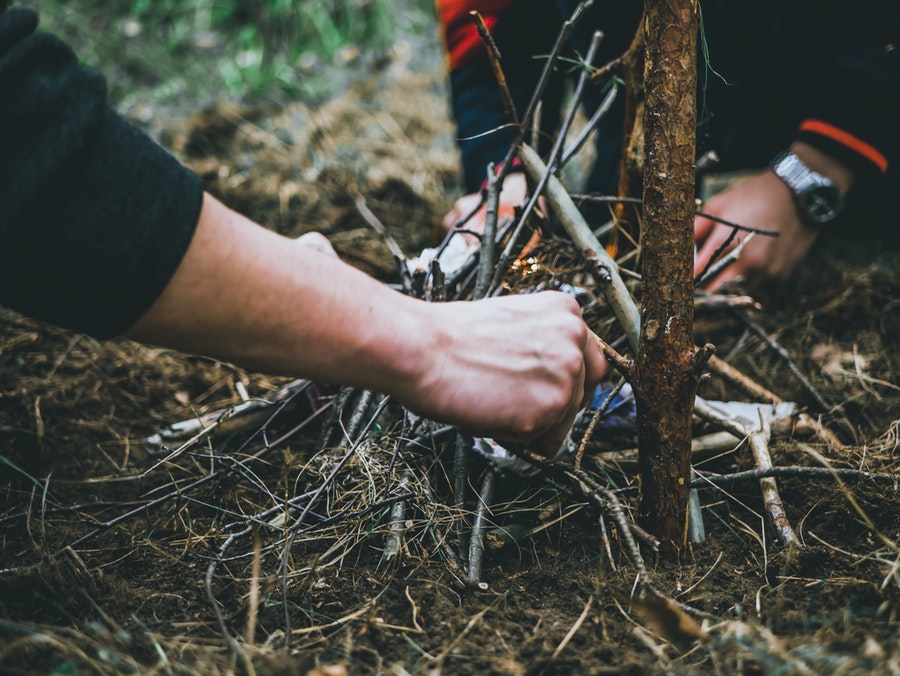
Gather enough tinder, kindling and logs. The worst thing that you can do is not be prepared for when you do get flame. Imagine how silly you will feel if you’re after spending hours getting the fire lit only to let it go out again because you haven’t collected enough firewood.
Make sure you gather plenty of kindling and small twigs to get the fire established before loading on the logs.
Friction
The old reliable rubbing two sticks together is probably the first thing you think of when asked to light a fire without matches. This will work, but it takes some considerable knowhow, effort and patience. There are three methods that you can try and I will teach them to you now. For best results use a hardwood.
1.The Hand Drill
This is probably the most difficult way to start a fire without matches but if resources are low then it will get the job done eventually.
- Try to find a dry narrow stick that is about 2 feet long. This will be your spindle. Note that the narrower the stick the faster you will be able to spin it. If it is too thin then it may bend or break.
- Next you need to find a larger piece of wood that will act as your fireboard. A log split in half is ideal.
- If you have a camping knife, use it to cut out a small notch at the side of your fireboard. Create a dent at the side of the notch. This dent should be roughly the same diameter as you spindle.
- Now get to work. Put the spindle into the dent and hold the spindle between your two hands at the top. You hands should be open and palm to palm with the spindle in between them.
- Start rubbing you hands back and forth. This will make the spindle spin.
- At the same time, apply downward pressure on the spindle with our hands.
- This will cause your hands to slip down the spindle as you rub. Don’t worry this is normal.
- Once your hands get to the bottom you must quickly bring then to the top of the spindle and begin the process again.
- Keep doing this until you create a glowing ember on the fireboard.
- Now carefully and quickly tip this ember into your tinder. Give a light blow and your tinder should ignite.
When to use this method?
When you are in an area that has dry wood. Don’t even attempt this method unless your wood is completely dry. You will just be wasting your energy.
2. The Bow Drill
This is the same principle as the hand drill only this works a lot faster. However, you will have to make a bow and find a stone or lump of wood to keep downward pressure on the spindle. This is known as the socket.
- First make a fireboard and spindle as described above. The spindle does not have to be as long.
- Then create a bow. Use an arch shaped branch. Make sure it is sturdy and doesn’t bend. It should be the length of your arm. Then tie a thin piece of rope to each end of the bow. Paracord from your tent is ideal but if you don’t have that then you can use shoe laces. You could even try vines or ivy.
- Now you will have to make or find a socket. It should be smaller than your hand and have a dent in it so that the spindle will sit into it. Remember, you want the friction to be down at the fireboard not up at your hand. So try to find a smooth rock with a dent or use wood that product sap. The sap will act as a lubricant.
- Now that you have everything it is time to get your fire lit. Put the spindle against the bow string and loop it around once. The cord should now be looped around the spindle.
- Place the spindle into the dent on the fire board and with the other hand hold the socket on top so that it is standing straight up.
- With one hand applying downward pressure use the other to see-saw the bow. If it is hard to get going you may be applying too much pressure from the socket. Use the whole length of the bow.
- The the cord begins to slip then try gripping more of the cord with your hand with the bow.
- Once you get the glowing ember on the fireboard, tip it into your waiting tinder. Blow gently and you tinder should ignite.
When to use this method?
Like the hand drill method, you will better results with dry wood. You will also need to have cord of some sort.
3. The Plough
This is another friction method but instead of twisting the spindle you are rubbing it along the fireboard.
- Your fireboard will be a little different with this method. Instead of cutting a dent you will have to cut a groove along it. I usually have mine about 1 foot long. This is long enough for you to generate enough heat but not too long so you have to stretch. The groove doesn’t have to be too deep. Just enough to keep you spindle in line as you rub.
- Next, make the spindle. I like to use a larger spindle than the other two method. You will be apply a lot more sideways forces to it so if it’s too light it will break. Find a straight stick 1 – 2 inches in diameter and at least 2 foot long. Now pair down the end of your stick with your camping knife. It should be less than half an inch at the point. Now you will be able to have a good hold of the spindle but your energy will be concentrated to a smaller point.
- Place your tinder at the end of the groove.
- Start rubbing. Kneel at one end one the groove and push the spindle along the groove, away from you. The tinder should be at the opposite end. Draw the spindle back, keeping the pressure and speed the same and then go again. And again. And again…This will take a while so don’t go all out straight away. Remember you cant stop for a rest or your wood will get cold and you will have to start again. Gradually build pressure and speed.
- Eventually an ember will ignite your tinder at the end of your groove, once you see smoke you know you can stop rubbing.
When to use this method?
Like all friction methods you really do need to have dry wood.
4. Magnifying glass
By using a magnifying glass or even a lens from a pair of eyeglasses you should be able to direct the power of the sun through the glass to a single point. This does take a little practice but you should get it pretty quickly.
- Start by holding the lens close to your tinder and direct it towards the sun.
- Slowly move the lens away from your tinder until you see the light from the sun getting stronger on the tinder. Keep going until the light is concentrated to a single point, about the size of a pea.
- Just hold it in this position for a little while until your tinder begins to burn. The time will vary depending on the strength of the sun and how dry your tinder is.
When to use this method?
This method works best during the summer and when the sun is high in the sky. Obviously, you will need a lens of some sort.
5. Water
Water? Isn’t that for putting fires out? Not in this method. It works in the same principle of the lenses. You can use water to concentrate the power of the sun into a single point which can generate enough heat to start a fire. Any clear round vessel that can hold water can be used for this. Bottle, plastic bags, even condoms can be used. For this example I am just going to use a bottle.
- Fill the bottle with water.
- Like the lense method, put the bottle next to the tinder and expose the it to the sun. Be careful not to get the tinder wet.
- Slowly move the the bottle away from the tinder and towards the sun until you see the light being concentrated to a single point.
- Keep this spot in the on place until the tinder lights.
When to use this method?
The same as the lense method. It works best during the summer and when the sun is high in the sky. The stronger the sun is the better. You will also need water and something clear to hold it in.
6. Flashlight reflector
If you are camping then you will more that likely have a flashlight with you. This next method makes use of the flashlight reflector. The part around the bulb that help reflect the light outwards.
- Most flashlights are easily disassembled. Simply screw the front casing off will expose the reflector. I will depend on the make of flashlight but you will have to find a way to get it out. Preferably without breaking it. You now have a parabolic mirror.
- Once you get it out stick you tinder through the hole from the bulb from the back. Paper works best here.
- Direct the reflector at the sun.
- You will have flame pretty fast, depending on the strength of the sun.
- Pull the tinder out of the reflector as soon as it begins to smoke. You don’t want it to damage your reflector with the fire.
When to use this method?
Again, anywhere the sun is strong.
7. Battery and gum paper
Finally, a way that doesn’t rely on the sun and does not involve hours of preparation and hard work. Chances are that you have a AA battery in your torch or headlamp. If you have gum paper or any other form of foil wrapper then you can make fire very easily.
Warning; you will have to wear gloves or find a way to protect your hands. The battery poles will get hot.
- First remove the battery from your device.
- Then prepare the wrapper. You don’t need all of it. A typically gum wrapper will do three fires. Cut the wrapper into three, longways.
- Now fold the wrapper in half.
- Now cut a the wrapper again but this time at an angle. The narrowest part should be at the fold. The narrowest part should be about ⅓ the width of the widest part.
- Now comes to fun part. Get your tinder ready and put on a pair of gloves that will protect you from the heat.
- Hold the metallic side of the wrapper against the opposite ends of the battery.
- Within a few seconds the narrow part of the foil will begin to flame.
- It won’t burn for long so get you tinder on top of the flame as quick as possible.
When to use this method?
This can be used just about anywhere as long as you have a battery and foil wrapper. Be careful not to burn your fingers on the battery.
8. Flint and steel
This method should be really called stone and steel because the name suggest that you need flint stone for it to work but there are other stones that will work too. Flint is the best type of stone to use but quartz, chert, obsidian, agate or jasper will also work well.
You can try other types of stone if you need to. Basically, you need to find a stone that is harder than the steel.
The common lighter works using the flint and steel method. The “wheel” you rotate with your thumb is made from steel. Under the wheel there is flint being pushed against it. When you rotate it, it rubs against the flint which creates the spark. So if you lighter runs out of gas you can still use the flint to make a spark.
- If you don’t already have a flint fire starter you will need to a stone that will work. Search on riverbeds or of steep loose hillsides. Hard rock can actually be quite brittle so I like to use a rock that is broken in half.
- You then need to use the right steel. It needs to be carbonised steel, which means carbon has being used in the production of the steel. This is done to make the steel harder. Tool steel like hammers and files will have a high carbon count and are ideal.
- Hold the rock over your tinder. You will want to strike the rock with the steel in a downwards motion. The steel should skid off the rock after you hit it. You are trying to get a spark to land in your tinder. Tip; try to hit a sharp edge of the rock. It will help create bigger sparks. If your piece of steel is very small you could try tying it to the end of a stick. This will give you more leverage and will also help you make bigger sparks.
- Keep hitting it. You will have to be patient. Sometimes it won’t spark, the spark may be too small or it may not land in you tinder. Keep at it and it will work. It just takes one perfect placed spark.
- Once your tinder begins to smoke you know you’ve done it.
When I’m out backpacking I alway take my survival bracelet like this one on Amazon. They are inexpensive and can take you out of all sorts of trouble. Mine have a compass, whistle, paracord and a flint starter. It also have a tiny blade but I wouldn’t call it a knife.
When to use this method?
Anywhere you can find the right rock and as long as you have some hard steel. Your tinder will also need to be super dry.
9. Soda Can and Toothpaste
This is a cool trick you can try. Use you bottom of your soda or beer can to start a fire. Not only is it a cool party trick but it could also get you out of trouble if you need to. Although, my example will be using toothpaste you can also use chocolate.
- First you will need a soda can. It is not uncommon to find empty cans in some areas or maybe you will have one with you.
- If you have toothpaste, rub a small amount on to the bottom of the can. The curved part underneath.
- The toothpaste will act like a polish. Rub the toothpaste into the can for several minutes.
- Wipe clear with a cloth and you should have a mirror finish. You will have created a parabolic mirror.
- Direct the mirror towards the sun and hold your tinder in front of it.
- Slowly move the tinder away until you see a concentrated point of light from the sun. Hold it here for a few seconds at your tinder should start to smoke. The time here will depend how sunny it is and how well you polished the can.
When to use this method?
Again, anywhere the sun is strong enough.
10. Potassium permanganate and glycerine or sugar
Most of you might think this won’t apply to camping but you would be wrong. Potassium Permanganate is a very useful survival tool, however it can be dangerous if used incorrectly. It can be used for a variety of things including purifying water, which I talk about in this post, and starting fire. Warning: don’t use this to purify water unless you know what you are doing. If the dosage is too high then it could be fatal.
Potassium permanganate won’t start a fire by itself. It needs glycerine to cause a chemical reaction to make fire. It is unlikely you will have glycerine with you on a camping trip, unless you intend to light your fires this way. That is why I will show you the sugar method as well.
The glycerin method
- Pour the potassium permanganate onto a log or bark. Make a little mount out of it then make a hole on the middle of it from the top. It should kind of look like a volcano.
- Simply pure a little glycerine into the volcano.
- Wait. This is important. The chemical reaction may take a few seconds and you may think nothing is happening but just wait. The reaction is quite sudden and violent so stay well away.
- Once the initial reaction dies down get you tinder on top of the flame before it burns out.
The Sugar Method
- Pour the potassium permanganate onto a log and then pour the same amount of sugar onto the potassium permanganate.
- Get a stick. Find a stick about 3 foot long and 1 inch in diameter. Have one side cut flat.
- Gently mix the sugar and the potassium permanganate with the stick.
- When it is fully mixed use the flat part of the stick to crush the potassium permanganate and sugar together. As you crush and should also twist the stick and the same time.
- After 2 or 3 twists the chemical reaction will begin and you will have fire.
- The reaction won’t be as violent as with the glycerin so get you tinder on fast before it burns out.
When to use this method?
This method can be used in extremely wet conditions and places where the sun is weak or behind clouds.
If you have found this article helpful then please remember to share by clicking on one of the buttons below. It will help others find this article too.
Links from the post above;
2 Replies to “10 Of The Coolest Ways To Start A Fire Without Matches”
Comments are closed.