Most of us think we know how to light a fire until we actually go to do it. There is a lot more to it than just striking a match to a bit of paper, placing some wood on top and then walking away.
Sure, anyone can “light a fire” but it takes someone with a bit of know how to keep it going and to build it up. I have already spoke about how to prepare an area for a fire here and even made a post on ways to create fire without matches or a lighter but I really wanted to make another post on exactly how to build the fire itself.
In some of the below content I have already touched in the posts mentioned above but this a definitive step by step guide and can be used to build a roaring fire anywhere.
These steps can be used in your home stove or fireplace but I’m going to assume you are only interested in doing this while camping.
Before you start
A fire needs three things – Heat, Oxygen and Fuel. If you remove any one of these then the fire will go out. It’s important to keep this in mind when starting a fire.
If the fire starts briefly then goes out then you are missing one of the above. It’s common that the fuel will run out before there can be enough heat generated. The flame is not able to spread through the tinder fast enough. This is why you see people blow in a fire gentle. It adds oxygen and directs the fire towards more fuel. This causes the flames to increase and create more heat.
The first thing you need to do is to pick a place to make your fire. I go into this in great detail here but basically you will need to do the following.
Make a fire pit – this will contain the fire and stop it from spreading. You can either dig a hole in the ground or you can build a ring from rocks or both.
Clear the area – Make sure to scrape away anything that can burn from around the fire. The will include twigs, dead leaves or dead grass.
Look overhead – Make sure there aren’t any overhanging branches that could catch fire.
Check weather conditions – don’t build a fire in high winds unless you know what you are doing. Having a draft is good if you want a vigorous fire but if the fire pit isn’t set properly then the fire could spread easily. In these cases build the fire in a sheltered area. Build up the fire pit wall with rocks if you need.
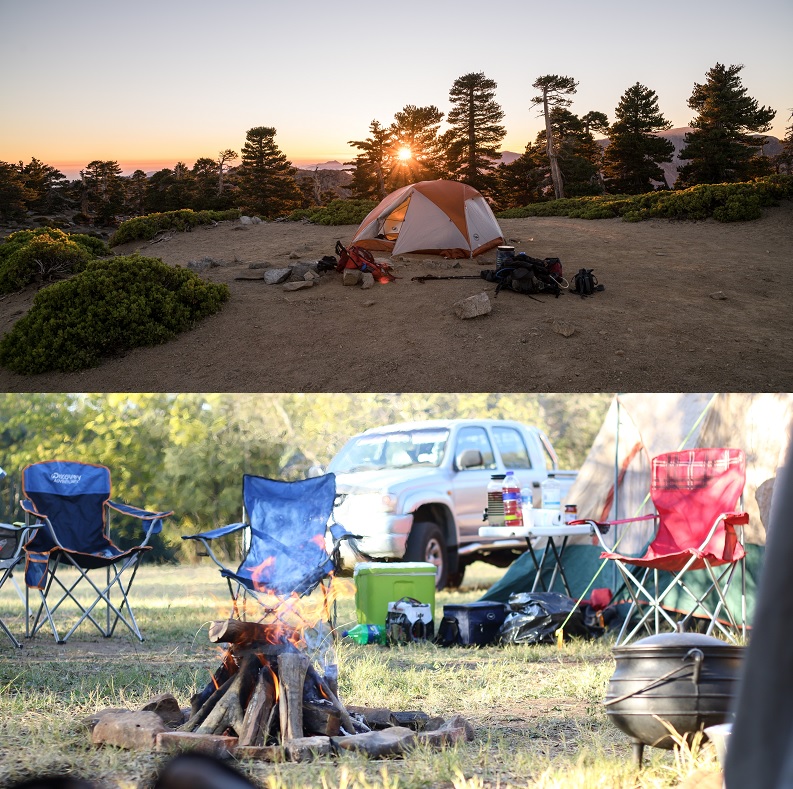
Don’t camp too close – It can be tempting to set your tent near the flames to keep warm but this is a recipe for disaster. Burning wood can sometimes spit hot embers and if your tent is too close then it could catch fire. The minimum recommended distance is 10 feet.
Permission – Find out from the campground or local forest ranger if you are even allowed a fire in the first place. Some places have restrictions, especially during the dry season.
These are just some of the basics so check out the post mentioned above to find out more.
Use Dry Wood
In case it isn’t obvious to everyone, you need to use the dryest material you can find. Damp material will have to dry out before it can burn properly.
In dry areas this might not be an issue but if you are camping in a wet place then finding dry firewood can be hard if you don’t know what to look out for.
First you have to be able to identify dry material. You will want to use dead wood, bark or grass. Dead wood will be lighter than living wood and will break easily. If you try to break some wood and it bends then there will be moisture inside. That’s not to say you can’t use it later when the fire is established but it won’t be great for lighting the fire. Dead grass will look yellow instead of green.
Don’t just leave it until you decide to camp for the night before trying to find dry wood. Keep an eye out during the day for anything that could be used while you’re hiking. You could easily have enough dry tinder and kindling found before you make camp.
Dead branches on the ground often seem soaked through. Use your camping knife to shave off the wet outer layers and there could be dry wood on the inside. The wet shavings should be placed beside the fire to dry out. They can be used as tinder for the next fire.
What do you need?
Collect fuel
The first thing you need to do before even striking a match is to make sure you have enough fuel to feed it. As we are talking about camping your main fuel source will be wood. I don’t recommend taking coal because I have found that it doesn’t burn fully so you are left with a messy pile of ash that you have to clean up the next day.
Firelighters and other accelerants can be great for lighting the fire but they aren’t good for the environment so leave them at home. You don’t need them anyway. They are for people that don’t know how to light fires properly. And after you read this post you will be able to easily light and build a roaring fire in no time.
Finding Tinder
Tinder is what you will be lighting first. It is the fine material that can easily catch fire. It should be preferably dry.
So what could you use as tinder?
Strips of paper are my preferred choice if I have it. Just tear out a page of a book or magazine and shred it into thin strips. Dry grass or dry leaves work well too.
If you’re in a damp climate you will have to get more inventive. Bird nests are usually pretty dry so keep your eye out for them.
I always carry a small bit of tinder with my matches and lighter in a dry bag and I keep an eye out during the day for anything that I can use, like I have mentioned above.
Finding kindling
Tinder will light quickly but it will also burn out fast so make sure you have your kindling ready. Kindling is the next stage up from tinder. They are dry twigs and bits of barks that will take flame after a few second on the burning tinder.
The bigger they are the more it will take to get them burning so separate the tinder into bundles categorised by size. They should get gradually bigger until you are about the thickness of your thumb.
Collect Logs
This is exactly the same as the kindling but bigger. Again, sort them into size but I wouldn’t go much bigger than the size of my arm. The thicker the wood, the harder it will be to light but the longer it will last so it’s about finding a happy medium.
Stack your logs close to the fire but not so close that they will catch fire. This will help them dry out further before you need them.
A way to start the fire
A lighter or matches are by far the most convenient way to light a fire so don’t leave home with them. There are alternative methods of starting a fire which I have outlined in this post.
Time to light it up!
Now that that have everything ready to go it’s time to get started. I’m going to assume you are using matches.
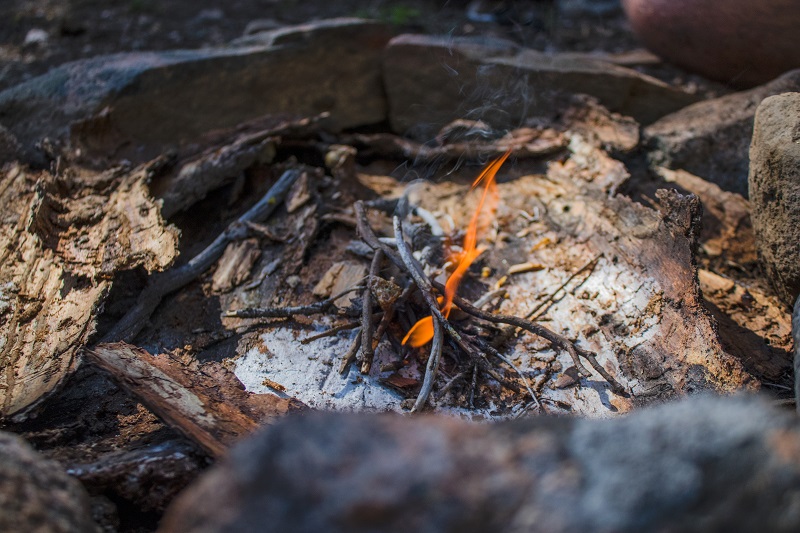
First place a small amount of tinder into center of the firepit. Strike a match and set it alight. Once the flame takes hold put more tinder on gentle. Don’t just throw a load on at once or you could starve in from oxygen and it will go out. If it doesn’t light up quickly then blow through the tinder gently to help the fire take off.
Now that the tinder is fully in flame it’s time to add your kindling. Most people like to have the kindling teepee structure built with the tinder underneath before they strike a match but I like to get the flames going first.
Just make sure you have the kindling ready to go as you will have to build it on as soon as the tinder begins to flame. Again, don’t just load it on. Starting with your smallest twigs stack them around the tinder in a teepee shape.
Once they begin to ignite then place another round of slightly bigger twigs and barks around the flame again. Repeat this process using bigger and bigger kindling every time until all your kindling is used up and you have a pretty substantial fire. The only problem is that kindling burns out quickly so it’s time to bring on the logs.
Use the same method of gradually adding bigger logs. If you try to put on a log that is too big too early, the smaller kindling or logs will burn out before it ignites, meaning the fire will go out.
And that’s all there is to it. Basically, start small and gradually add bigger and bigger fuel until you have the fire you desire. Just remember not to make it too big because the bigger the fire the more firewood you will need to keep it going.
Other methods of stacking the wood.
I find the teepee structure mentioned above to be the best way to light a first but there are other ways that work good too.
Cross – as the name suggests just continue laying your kindling in a criss-cross fashion until you have worked your way up to placing logs.
Log cabin – Start your fire like directed above using the teepee method. Once the fire has taken to the kindling, place a stick either side of the fire. Now place two more sticks on the other two sides but on top of the first two sticks. You should now have a square around your fire (but still inside the fire pit).
Now repeat this by laying the sticks higher and higher, surrounding the fire. Once you are high enough place more kindling across the top so you are left with a box around the fire.
I use this method if the wood isn’t fully dry. The heat for the fire will dry the stick quickly before they ignite. The only issue I have with this method is that I feel I have to work fast to get it done before the fire goes out.
Lean-to – Stick a larger piece of kindling into the ground near the fire but have it leaning over the flame. Now lean smaller pieces against it. As the kindling catched fire and falls into the flames keep stacking more on.
If you have found this article helpful then please remember to share by clicking on one of the buttons below. It will help others find this article too.